Sunday, January 20, 2013

And the framing has begun!!!

I haven't posted in a few days so I am a bit behind.  The demo phase has been completed and we are now onto framing the barn and transitioning it into our home!  They started with framing over the garage where one of the upstairs bedrooms will go.  It really is amazing how quickly they can put this stuff up!

Framing over middle garage

Framing side garage

Framing over other garage

Hole for footings


View looking towards garage from future master bedroom

Looking into future master bedroom and kitchen

Looking into future master bath and closet


Future master bath

Future master bedroom

Looking into loft from kitchen


They had to cut four pretty large holes in the foundation to make sure the footings were strong and that there was what is called a vapor barrier. It is literally a piece of plastic that is laid down before the concrete is poured, to ensure that moisture does not come up through the ground.  The city then has to come and sign off and verify that they have seen the vapor barrier before the project can move forward. Once that is complete they can fill these holes with concrete and then put the weight of the foundation on these sturdy concrete holes.


Tuesday, January 15, 2013

Rain Rain Go Away

A lot of things have slowed down due to the constant rain.  It has been raining since Monday and is expected to continue through Thursday.  Needless to say that they can't pour the driveway and the site is a mud pit!  We need to have another dumpster delivered, but it will really tear up the grass,  so it will have to wait. 

But the good news is that we FINALLY got the septic permit!  I have learned more about septic systems then I ever wanted to know! There is an existing septic on the property, but we are going to have to tear it out due to new codes.  The one that is there is on what is called a "20 Ton Pit" and it is no longer allowed so we have to have the whole thing removed and a whole new system put in.  Not cheap! We are putting in a 1500 gallon tank.  The size of the tank is dependent upon how many bedrooms you have and if you are going to have a garbage disposal.  If you decide on a garbage disposal you have to add 50% more tank space.  To start the permit process you have to predetermine a primary and secondary spot on the property that you are proposing to the permit department for placement of the system.  But to determine that you have to have someone come out and check the soil to make sure it is fit for a septic system. Then you have to have it drawn on a plan by a professional survey inspector.  When all that is complete you can then submit it to the city for approval.  It really is a complicated process, but one that is obviously necessary.

We are trying to decide what we are going to do with the wall in the backyard. Right now it is a wall held back by railroad ties,  but they have rotted out and need to be removed.  They are considered hazardous waste so they have to be disposed of differently than normal trash.  Once they are gone we are trying to decide if we will put up a stone wall with stairs in the middle or if we will just bring dirt over to make it more of a hill and then lay sod over it.  Either way there will be stairs going down. If anyone has any ideas I'm open to suggestions on this.

Pavers removed from inside

 Temporary support beams added

Railroad tie wall

Digging around foundation for code purposes


Sunday, January 13, 2013

The Demolition Continues!

So much has happened!  I cannot believe how fast these guys are!  We are now on dumpster number three! Almost everything has been torn down.  All of the wood and the cinder blocks have been removed today.  They grated the ground for the 220 foot driveway.  We decided that we needed to put a culvert (big pipe) in at the bottom of the driveway to keep the water from sitting in a pool and giving it access to keep flowing.  They built it up with dirt and then will concrete it like the rest of the driveway.  So exciting!  Here are the pictures!
Driveway being grated
Gutted


Culvert


They are putting excess dirt back here to build it up.


Monday, January 7, 2013

Day One Complete!

Here are some pictures of what was accomplished on day one!


Can't wait to see what's in store for tomorrow!

Day One Demolition!

The day is finally here!!! We can't even begin to explain our excitement!! On Sunday, Jay and I had a four hour meeting with our contractor, Shawn Kangas, at kangasconstruction.com and got the final prep work hammered out.  We discussed everything from fencing, to water heaters, to HVAC. We discussed last minute details such as dumpster delivery and cost saving measures such as using the existing pavers in the barn and possibly using them around the barn as patio, as opposed to pouring concrete.   Jay and I love the look of the existing structure so we are wanting to repurpose as much of the materials in there.  We are keeping one of the stall doors to use at the bottom of the stairs and two more as a gate at the front of the driveway.  The meeting was very productive and I could barely sleep last night because I was so energized!

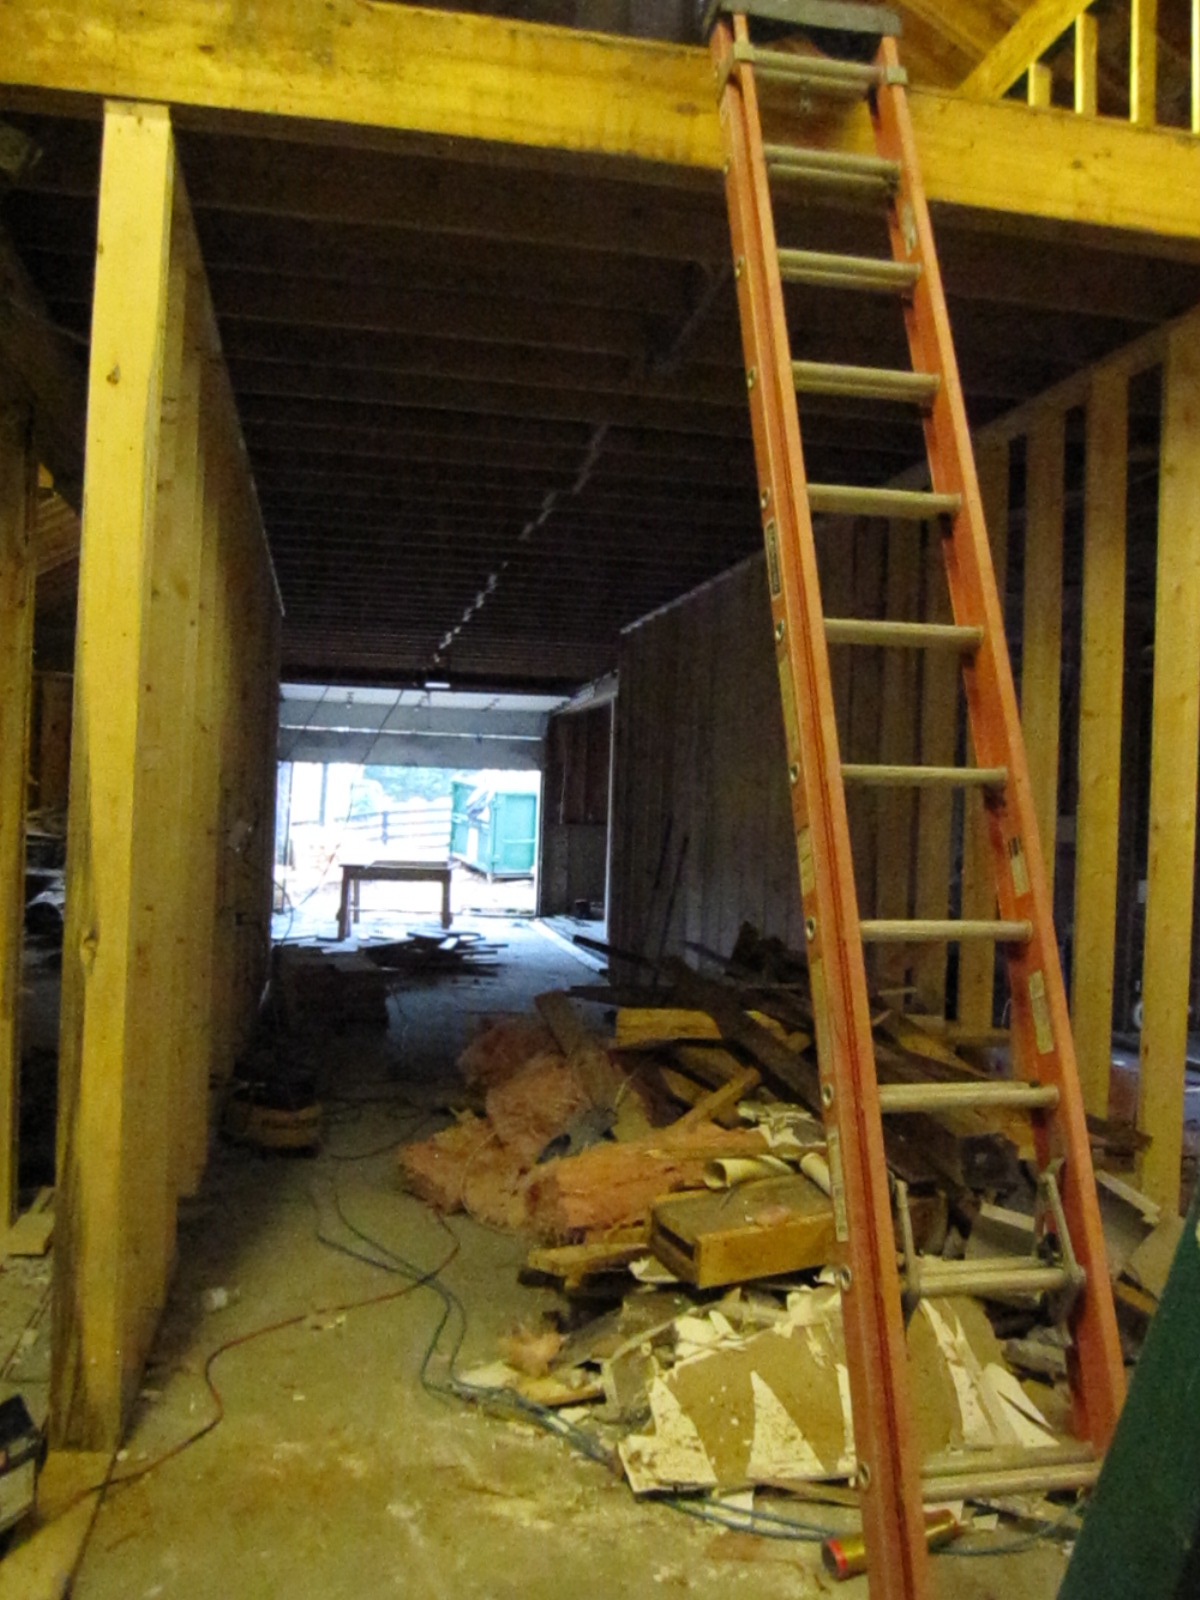
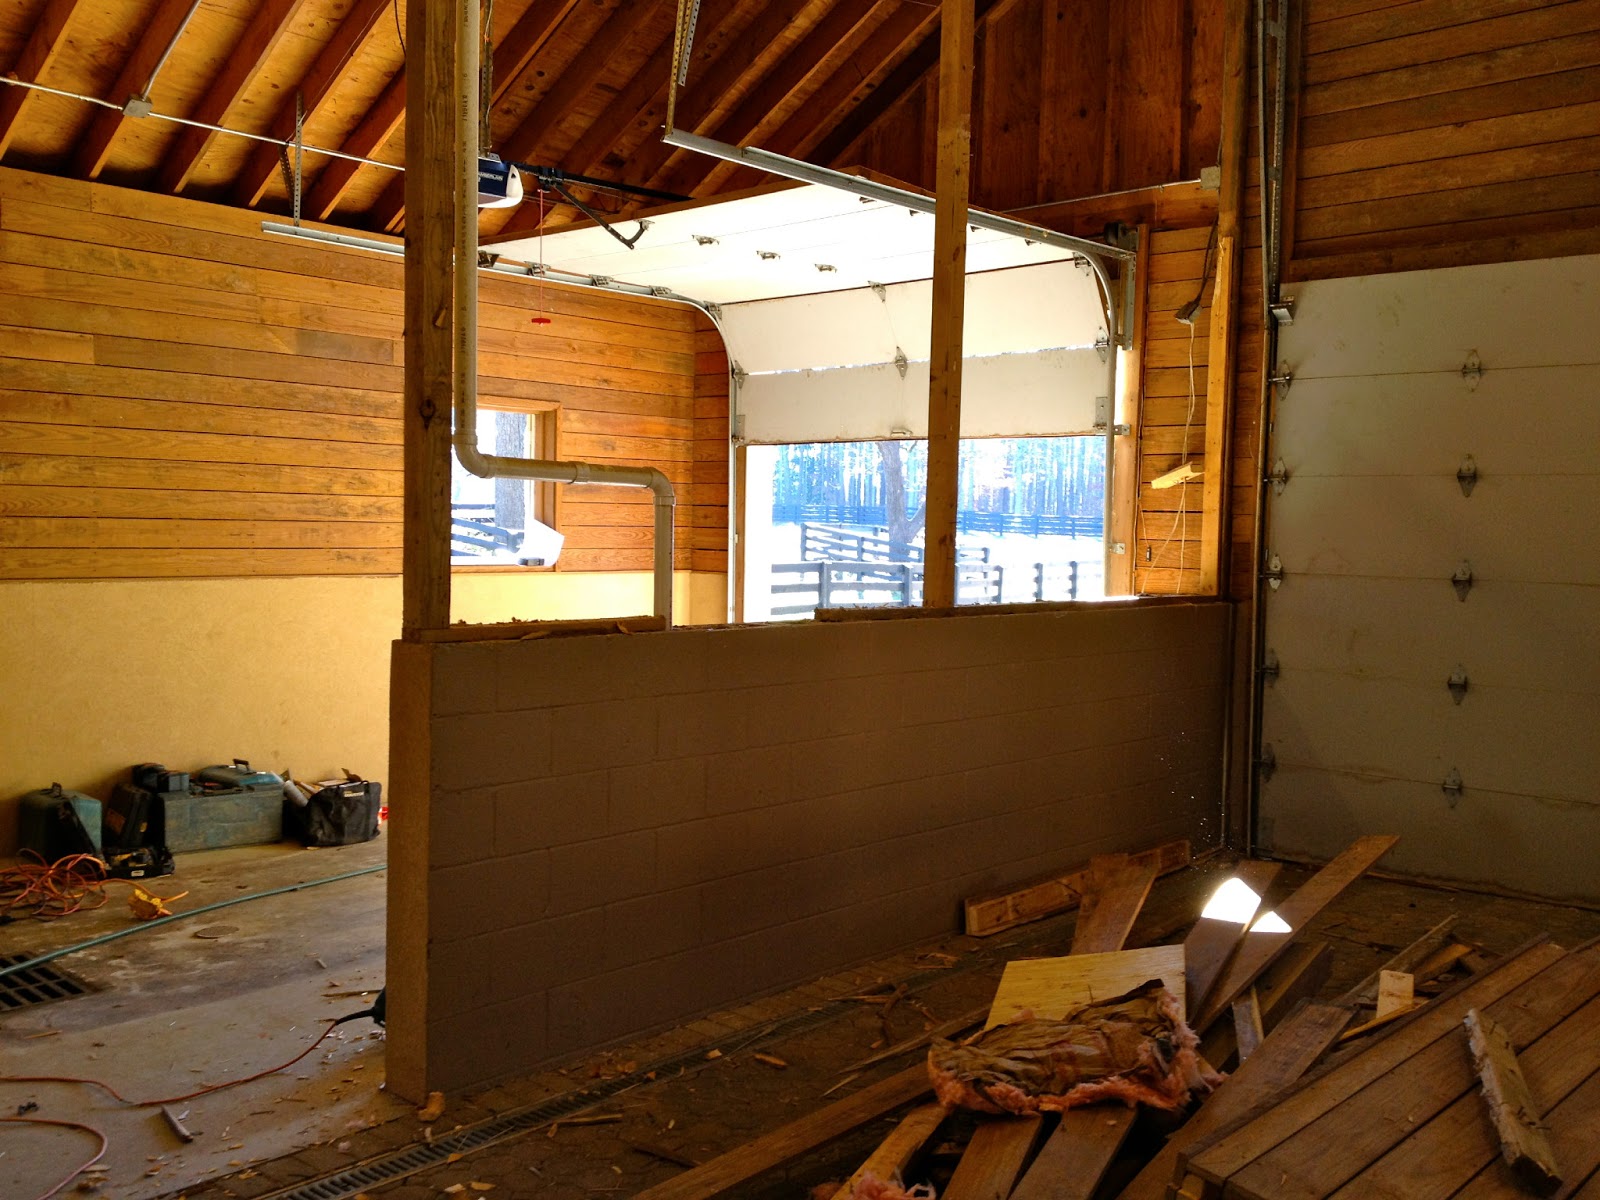
I made my way to the barn this morning about 10 AM and these are the first of the demo Pictures!

Tearing wood off walls

Taking off stall doors
Taking down garage walls

Stall door removed

I had to leave and start the fun, but yet taxing task of picking out cabinets and granite countertops.  Jay says he is going to leave this part to me and that he trust my judgement...LOL!  That being said,  I know nothing about picking out cabinets or what I wanted for countertops so this was a little overwhelming for me.  I set out on my crash course of learning all I needed to know!  I had NO IDEA how many options there were or the price ranges involved.  After looking at what seemed like a million choices I decided on off white cabinets with dark glaze and a black island with beadboard.  I want the kitchen to have some contrast.

Now for the granite...believe it or not this was more difficult than the cabinets! While deciding on all of this I realized ,more than ever, that I have really have expensive taste.  I was picking out the most expensive items... not surprising.  So I asked the salesperson about going with a less expensive option and low and behold they have a "remnants" area in the back. This is where they put the granite that they have cut and haven't used it all. So you can buy the remainder of the granite slab.  Turns out there are a lot of rich people in this area that buy a full slab of granite and cut out tiny pieces, then discard the rest!  That works out well for me because I need a big piece because the island is 9ft x 4 ft.  I found what I needed at HALF the cost!  Per my friend Courtney, you want it to "pop" so I am going with black granite on the off white cabinets and a color called "Crema Pearl" on top of the black Island.   People...Did you know that they can "leather" black granite?  It makes it so you can't see fingerprints or water marks! Amazing!
Cabinet
Crema Pearl for Island
Black Leathered granite. Ours will have less color than this example.